

Print-ready design files: resolution, DPI, transparent PNG, color
A design that looks sharp on screen can come out blurry or muddy on a shirt. We cover the rules of a print-ready file, from pixel and DPI math and transparent PNGs to semi-transparent shadows and color on dark fabric.
In POD, the file the designer delivers directly shapes the quality of the product the buyer receives. A design that looks great on screen can disappoint because of low resolution, a white background, semi-transparent shadows or colors that are bright on screen but dull on fabric. The good news: most of these problems can be prevented at the file stage.
In this post we cover the widely accepted industry rules for preparing files for DTG and DTF printing. Exact dimensions and formats can vary by producer; always go by the template of the producer or platform you work with.
Pixels, DPI and print size
In digital printing, what matters is the file's pixel dimensions. DPI (dots per inch) describes how densely those pixels are placed when printed. The common industry recommendation is to prepare the design with enough pixels to equal 300 DPI at the actual print size.
The math is simple: print size (in inches) times 300. For example, a 12 x 16 inch chest print needs 3,600 x 4,800 pixels. At many POD producers, the standard front print area is around this size; take the exact area from the producer's template.
| Print area (inches) | Pixels needed at 300 DPI | Typical use |
|---|---|---|
| 12 x 16 | 3,600 x 4,800 | T-shirt front or back, full size |
| 10 x 10 | 3,000 x 3,000 | Square composition, tote bag |
| 4 x 4 | 1,200 x 1,200 | Left chest, above the pocket |
| 3 x 12 | 900 x 3,600 | Sleeve print |
Transparent PNG: avoid the white box
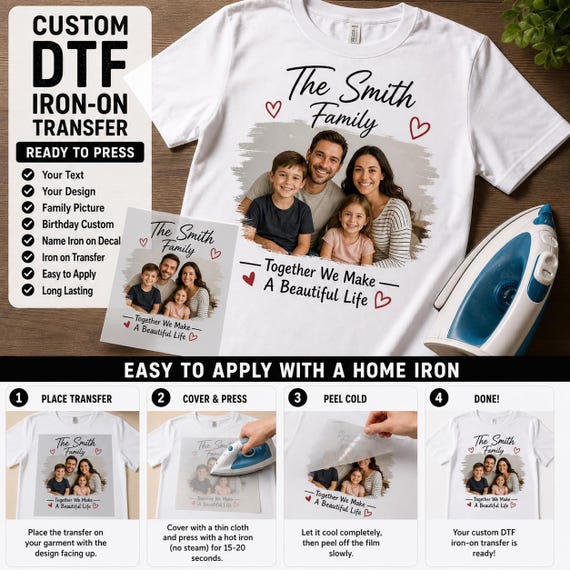
A design that will be printed on a shirt needs a transparent background. The JPG format doesn't support transparency, so a design saved as a JPG can get printed along with its white background. The result, especially on colored shirts, is a white box around the design. That is why a PNG with a transparent background is the common standard for t-shirt printing.
- Delete or hide the background layer and export the file with transparency.
- Don't leave unnecessary empty space around the design; crop the canvas to the design.
- Clean up invisible stray pixels; they can print as small dots.
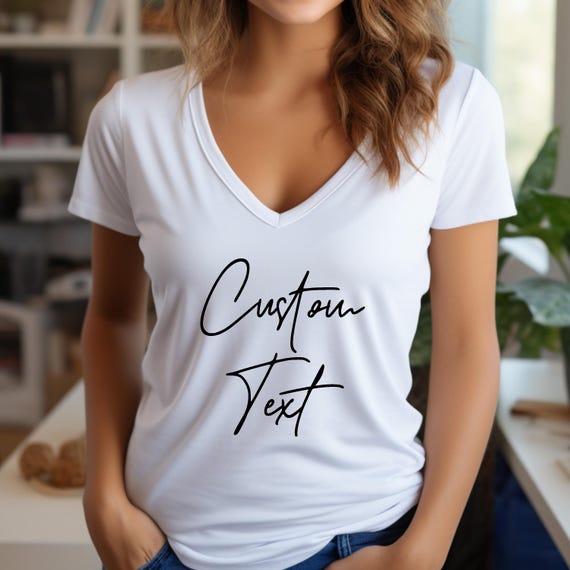
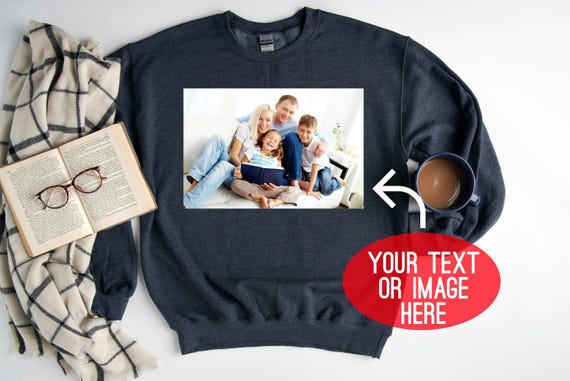
- Don't confuse the mockup with the print file: the mockup is a sales image, the print file contains only the design.
Semi-transparency, shadows and glow
Shadows, glows and semi-transparent gradients that look soft on screen are the elements that cause the most trouble in print. Semi-transparent white or color doesn't blend as smoothly on fabric as it does on screen. In DTF, semi-transparent areas combined with the white underbase can look blotchy or dirty; in DTG, gradients on dark fabric can blend into the fabric color.
- Use solid shapes with clean edges instead of gradient shadows.
- If you need a gradient, design it with a halftone pattern.
- Remove glow effects around text, or use a solid outline instead.
- Convert low-opacity layers to fully opaque colors.
Color: the difference between screen and fabric
Screens emit light and work in RGB; print is created with ink on fabric. That is why some highly saturated and neon shades on screen don't come out as vivid on fabric. Many DTG producers recommend preparing the file with the sRGB color profile; the producer converts it for printing with its own process.
- Prepare the design in the sRGB profile unless your producer recommends otherwise.
- Order samples for critical colors; decide based on the color on fabric, not on screen.
- Dark design elements disappear on dark shirts; adjust contrast to the fabric color.
- Black areas in the design won't show on a black shirt; leaving them transparent makes the fabric part of the design.
Lines, text and detail
There is a limit to the thinnest line and smallest text size a print method can reproduce. Very thin lines get lost in the fabric texture, and small text becomes unreadable. Review the design at actual print size, at 100 percent zoom: a detail you can't read there won't be readable on the shirt either.
Checking the commercial use license of the fonts and graphic elements you use is also part of file preparation. Not every free font can be used on commercial products.
Checklist before you deliver the file
- Do the pixel dimensions come to roughly 300 DPI at print size?
- Is the background transparent, and is the file a PNG?
- Are there any semi-transparent shadows, glows or low-opacity layers left?
- Is the canvas cropped to the design, and are there stray pixels?
- Are the colors in sRGB, and is contrast sufficient on dark fabric?
- Are the thinnest line and smallest text readable at actual size?
- Do the fonts and graphic elements have a commercial license?
- Has the design been checked for copyright and trademark issues?
From file to order in Custombull
In Custombull, you upload your design with the product creation wizard, choose a product from the catalog and set up color and size options. When an order comes in, the correct design file for that order is found automatically, made print-ready and sent to a partner producer in the US. You can upload the design yourself, or let Automated Production create both the idea and the design and prepare the mockup and listing copy.
Custombull checks and guarantees the quality of every product: if a defective item reaches your customer, you report it with a photo from the order screen, and you're refunded with no questions asked or the item is reprinted for free.
Frequently asked questions
Can I send a vector file (SVG, AI)?
Vector is the most flexible format during design because it scales without losing quality. For printing, though, most POD workflows use a transparent PNG exported at the target size. Check which format your producer accepts.
Is resolution higher than 300 DPI better?
Usually not. 300 DPI at print size is enough for most digital printing; a higher value makes the file bigger without making a difference in print. Some producers also recommend not going above this value.
Can I use the same file for a t-shirt and a sweatshirt?
Often yes, but print areas can vary by product and size. Check the design's proportions and placement on a mockup for each product.
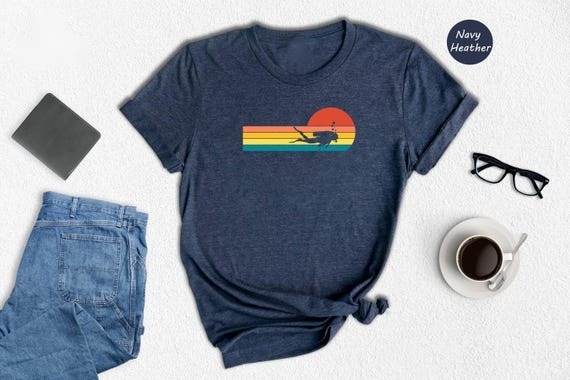
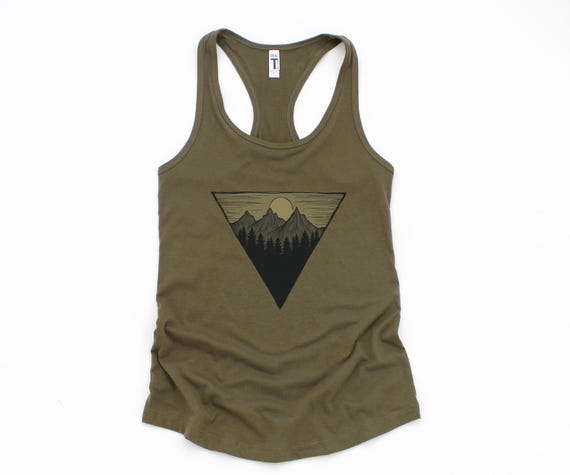 Mountain and moon t-shirt
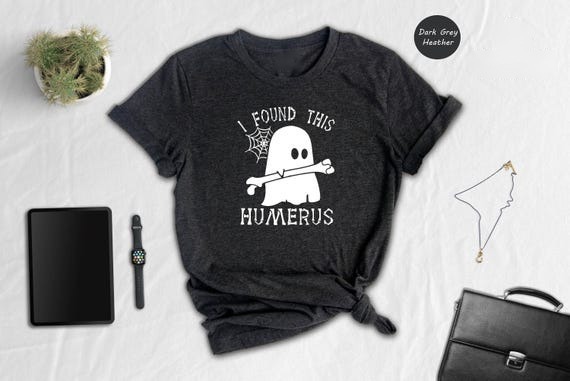 Ghost doctor t-shirt